Other features
This page lists all the other available features that you may find useful.
Global prefix#
To ignore a global prefix for routes set through setGlobalPrefix(), use ignoreGlobalPrefix:
const document = SwaggerModule.createDocument(app, options, {
  ignoreGlobalPrefix: true,
});
Global parameters#
You can define parameters for all routes using DocumentBuilder, as shown below:
const config = new DocumentBuilder()
  .addGlobalParameters({
    name: 'tenantId',
    in: 'header',
  })
  // other configurations
  .build();
Global responses#
You can define global responses for all routes using DocumentBuilder. This is useful for setting up consistent responses across all endpoints in your application, such as error codes like 401 Unauthorized or 500 Internal Server Error.
const config = new DocumentBuilder()
  .addGlobalResponse({
    status: 500,
    description: 'Internal server error',
  })
  // other configurations
  .build();
Multiple specifications#
The SwaggerModule provides a way to support multiple specifications. In other words, you can serve different documentation, with different UIs, on different endpoints.
To support multiple specifications, your application must be written with a modular approach. The createDocument() method takes a 3rd argument, extraOptions, which is an object with a property named include. The include property takes a value which is an array of modules.
You can setup multiple specifications support as shown below:
import { NestFactory } from '@nestjs/core';
import { SwaggerModule, DocumentBuilder } from '@nestjs/swagger';
import { AppModule } from './app.module';
import { CatsModule } from './cats/cats.module';
import { DogsModule } from './dogs/dogs.module';

async function bootstrap() {
  const app = await NestFactory.create(AppModule);

  /**
   * createDocument(application, configurationOptions, extraOptions);
   *
   * createDocument method takes an optional 3rd argument "extraOptions"
   * which is an object with "include" property where you can pass an Array
   * of Modules that you want to include in that Swagger Specification
   * E.g: CatsModule and DogsModule will have two separate Swagger Specifications which
   * will be exposed on two different SwaggerUI with two different endpoints.
   */

  const options = new DocumentBuilder()
    .setTitle('Cats example')
    .setDescription('The cats API description')
    .setVersion('1.0')
    .addTag('cats')
    .build();

  const catDocumentFactory = () =>
    SwaggerModule.createDocument(app, options, {
      include: [CatsModule],
    });
  SwaggerModule.setup('api/cats', app, catDocumentFactory);

  const secondOptions = new DocumentBuilder()
    .setTitle('Dogs example')
    .setDescription('The dogs API description')
    .setVersion('1.0')
    .addTag('dogs')
    .build();

  const dogDocumentFactory = () =>
    SwaggerModule.createDocument(app, secondOptions, {
      include: [DogsModule],
    });
  SwaggerModule.setup('api/dogs', app, dogDocumentFactory);

  await app.listen(process.env.PORT ?? 3000);
}
bootstrap();
Now you can start your server with the following command:
$ npm run start
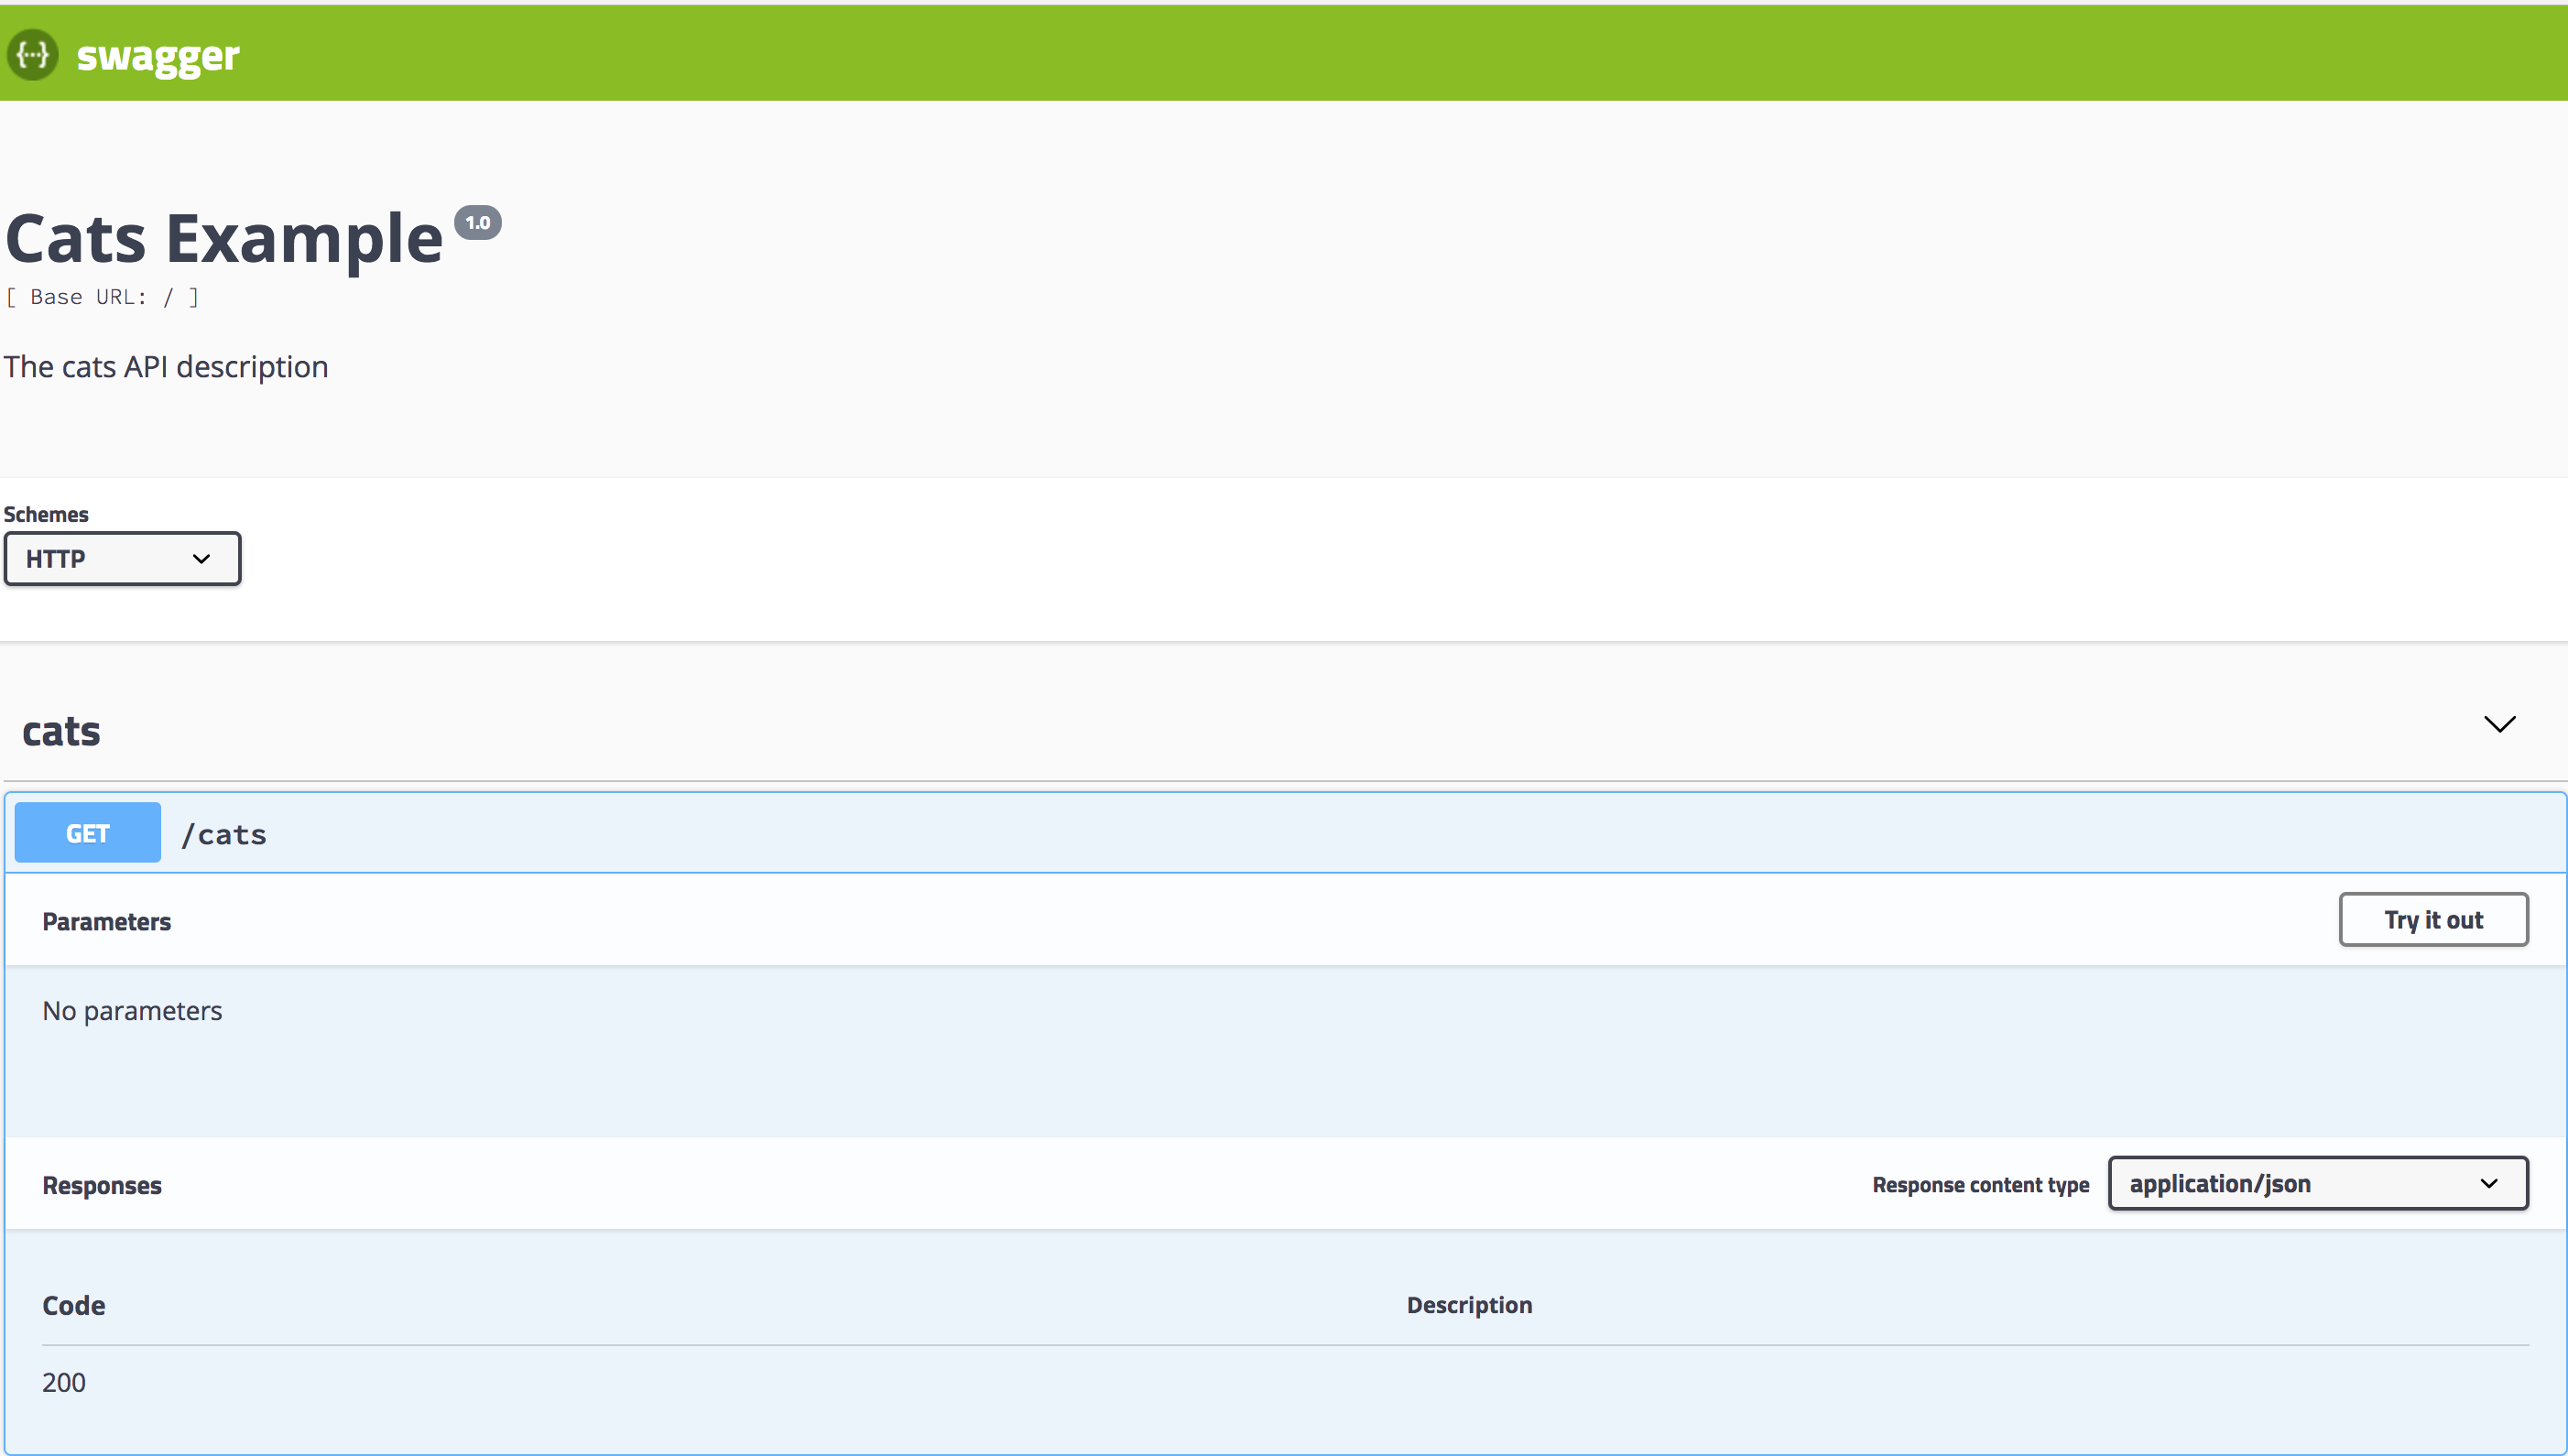
Navigate to http://localhost:3000/api/cats to see the Swagger UI for cats:
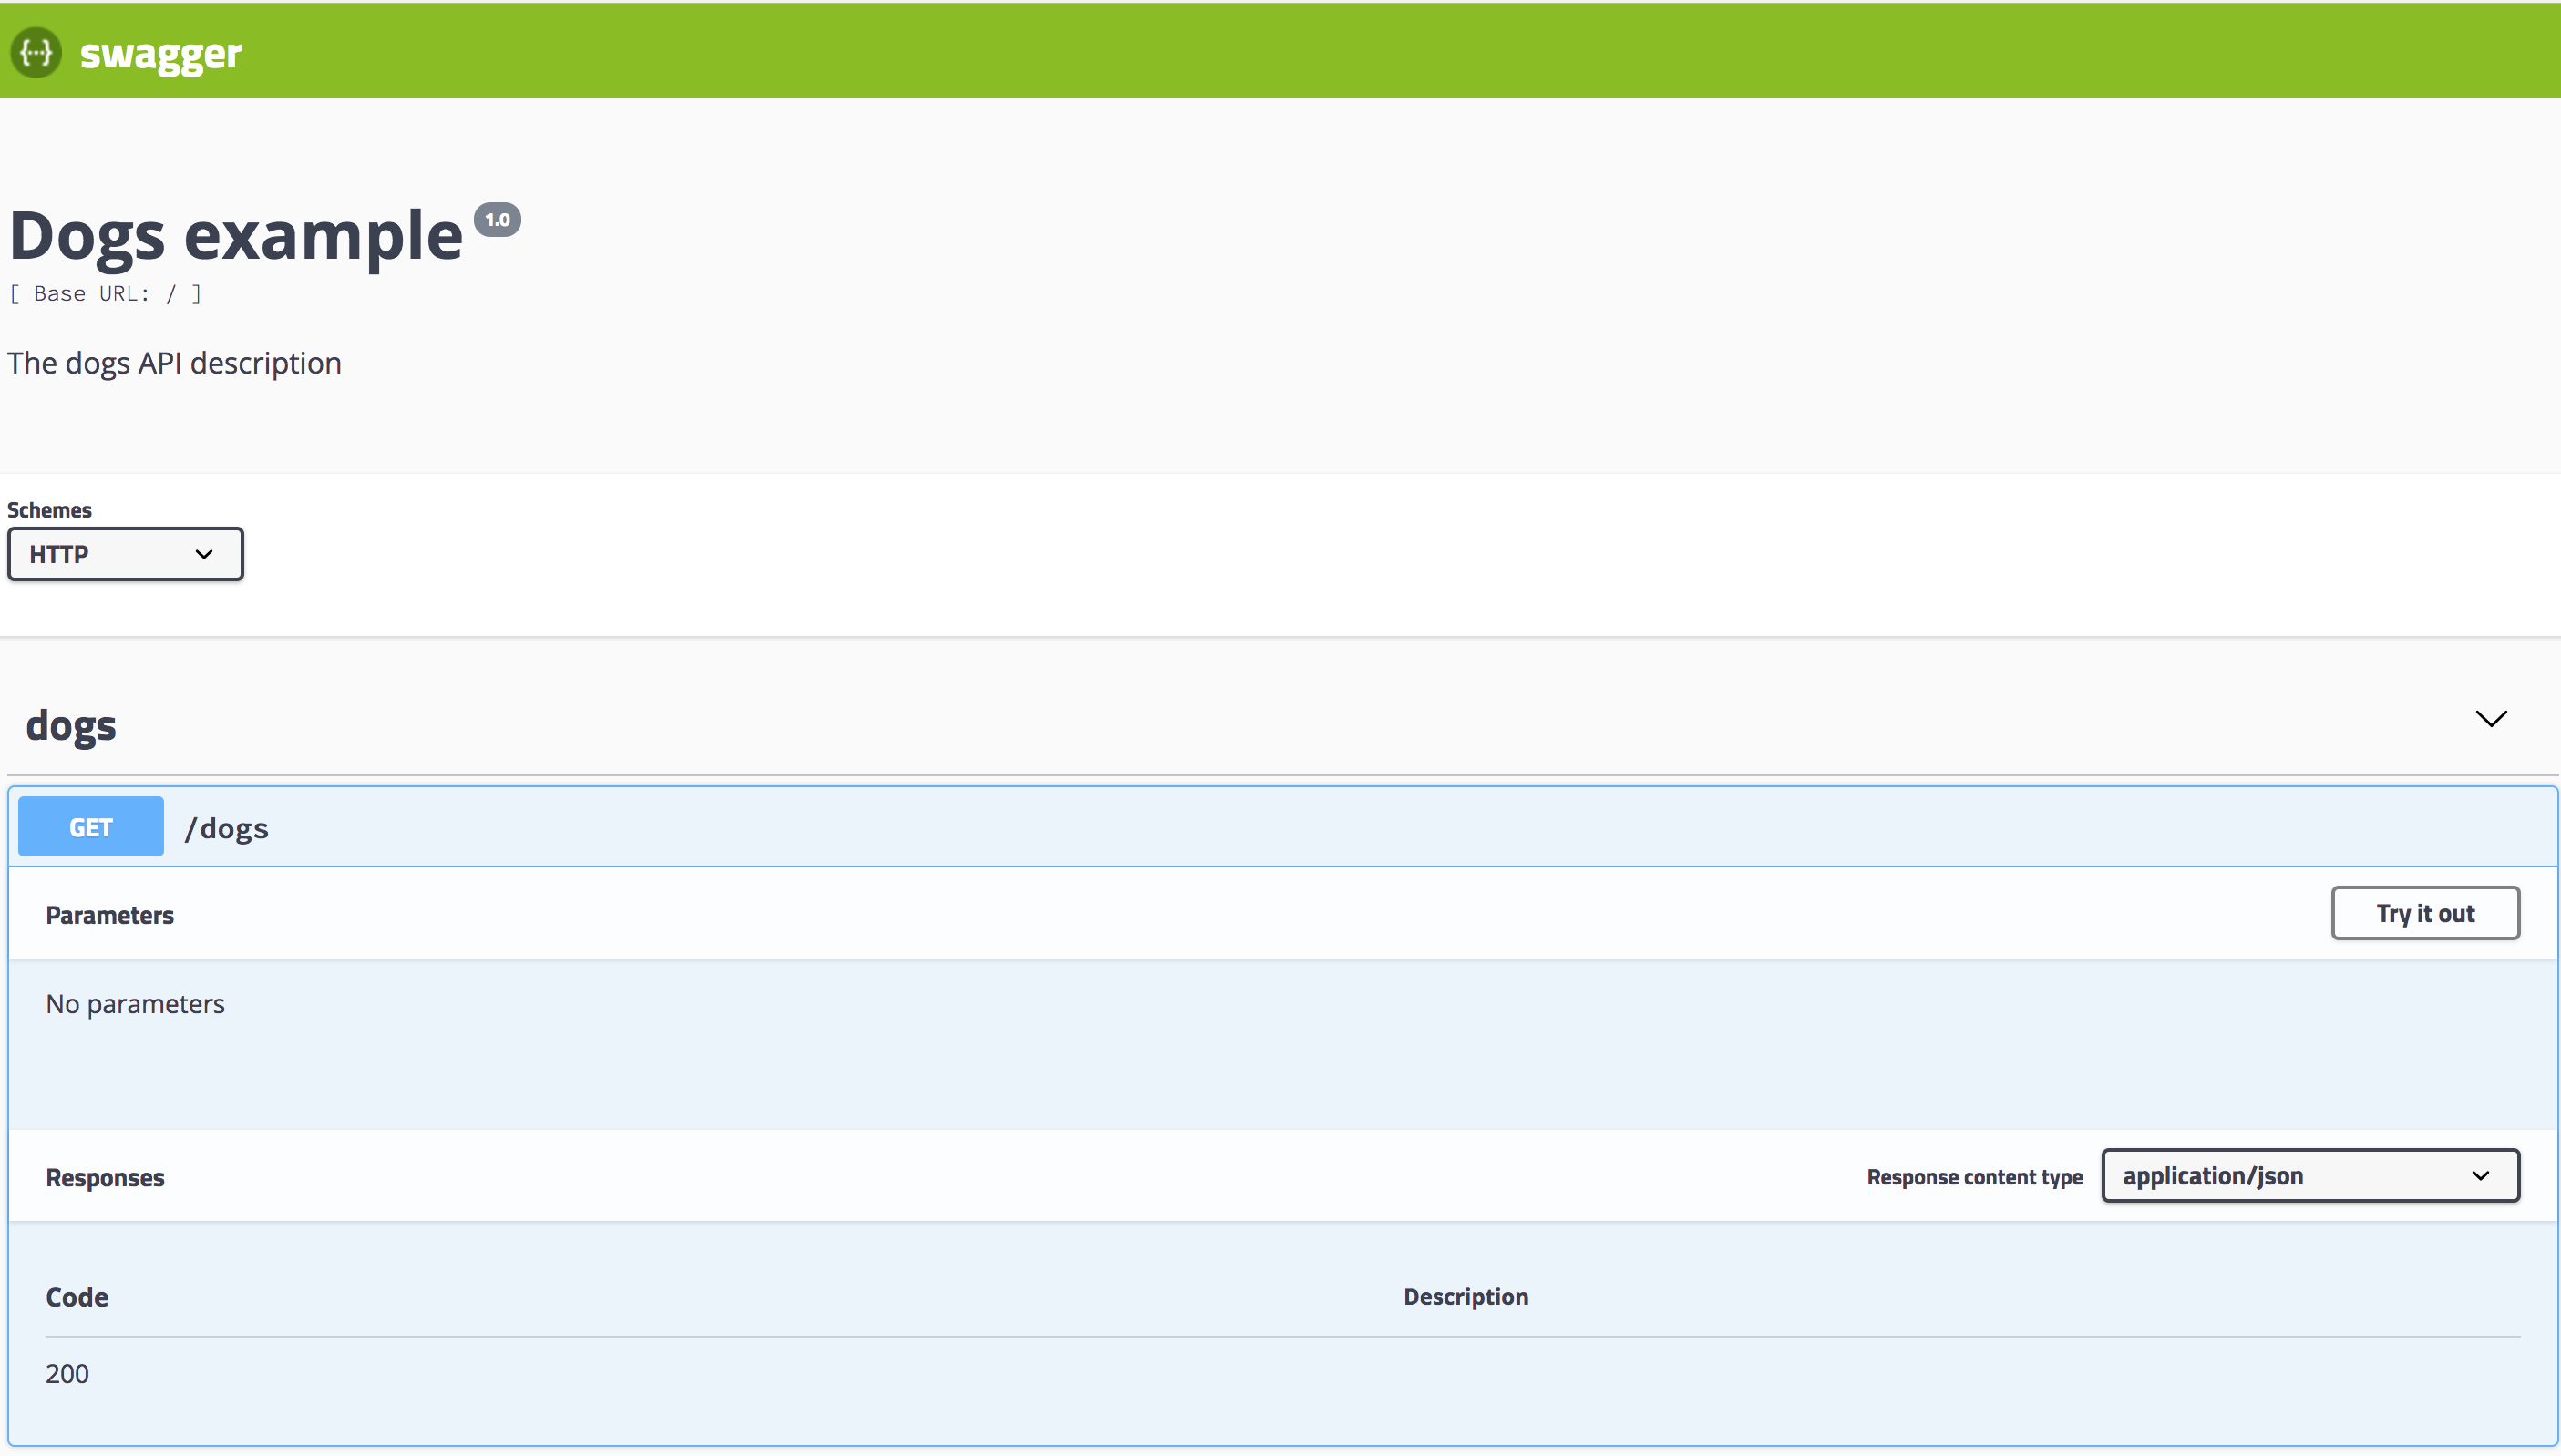
In turn, http://localhost:3000/api/dogs will expose the Swagger UI for dogs:
Dropdown in the explorer bar#
To enable support for multiple specifications in the dropdown menu of the explorer bar, you'll need to set explorer: true and configure swaggerOptions.urls in your SwaggerCustomOptions.
Hint Ensure thatswaggerOptions.urlspoints to the JSON format of your Swagger documents! To specify the JSON document, usejsonDocumentUrlwithinSwaggerCustomOptions. For more setup options, check here.
Here’s how to set up multiple specifications from a dropdown in the explorer bar:
import { NestFactory } from '@nestjs/core';
import { SwaggerModule, DocumentBuilder } from '@nestjs/swagger';
import { AppModule } from './app.module';
import { CatsModule } from './cats/cats.module';
import { DogsModule } from './dogs/dogs.module';

async function bootstrap() {
  const app = await NestFactory.create(AppModule);

  // Main API options
  const options = new DocumentBuilder()
    .setTitle('Multiple Specifications Example')
    .setDescription('Description for multiple specifications')
    .setVersion('1.0')
    .build();

  // Create main API document
  const document = SwaggerModule.createDocument(app, options);

  // Setup main API Swagger UI with dropdown support
  SwaggerModule.setup('api', app, document, {
    explorer: true,
    swaggerOptions: {
      urls: [
        {
          name: '1. API',
          url: 'api/swagger.json',
        },
        {
          name: '2. Cats API',
          url: 'api/cats/swagger.json',
        },
        {
          name: '3. Dogs API',
          url: 'api/dogs/swagger.json',
        },
      ],
    },
    jsonDocumentUrl: '/api/swagger.json',
  });

  // Cats API options
  const catOptions = new DocumentBuilder()
    .setTitle('Cats Example')
    .setDescription('Description for the Cats API')
    .setVersion('1.0')
    .addTag('cats')
    .build();

  // Create Cats API document
  const catDocument = SwaggerModule.createDocument(app, catOptions, {
    include: [CatsModule],
  });

  // Setup Cats API Swagger UI
  SwaggerModule.setup('api/cats', app, catDocument, {
    jsonDocumentUrl: '/api/cats/swagger.json',
  });

  // Dogs API options
  const dogOptions = new DocumentBuilder()
    .setTitle('Dogs Example')
    .setDescription('Description for the Dogs API')
    .setVersion('1.0')
    .addTag('dogs')
    .build();

  // Create Dogs API document
  const dogDocument = SwaggerModule.createDocument(app, dogOptions, {
    include: [DogsModule],
  });

  // Setup Dogs API Swagger UI
  SwaggerModule.setup('api/dogs', app, dogDocument, {
    jsonDocumentUrl: '/api/dogs/swagger.json',
  });

  await app.listen(3000);
}

bootstrap();
In this example, we set up a main API along with separate specifications for Cats and Dogs, each accessible from the dropdown in the explorer bar.